
To follow this tutorial, you will need the following:
- .NET SDK 8 installed on your machine
- Basic knowledge of .NET, ASP.NET Core and C#
- An IDE or text editor; we’ll use Visual Studio 2022 for this tutorial, but a lightweight IDE such as Visual Studio Code will work just as well
Overview
To allow files to be uploaded, you will:
- Create ASP.NET Core Razor views that allow the user to select a file to upload
- Create ASP.NET Core controllers to work with uploaded files
Of course, you will also want to do something with each uploaded file! In this tutorial, we’re going to write C# code to show information about the file, and also to scan it for malware using Verisys Antivirus API.
Verisys Antivirus API is a language-agnostic REST API that allows you to easily add malware scanning to mobile apps, web apps and backend processing.
By scanning user-generated content and file uploads, Verisys Antivirus API can stop dangerous malware at the edge, before it reaches your servers, applications - or end users.
Project Setup
First, we need to create a new ASP.NET Core MVC project.
Prefer the command line? You can create a new project simply by running:
|
|
-
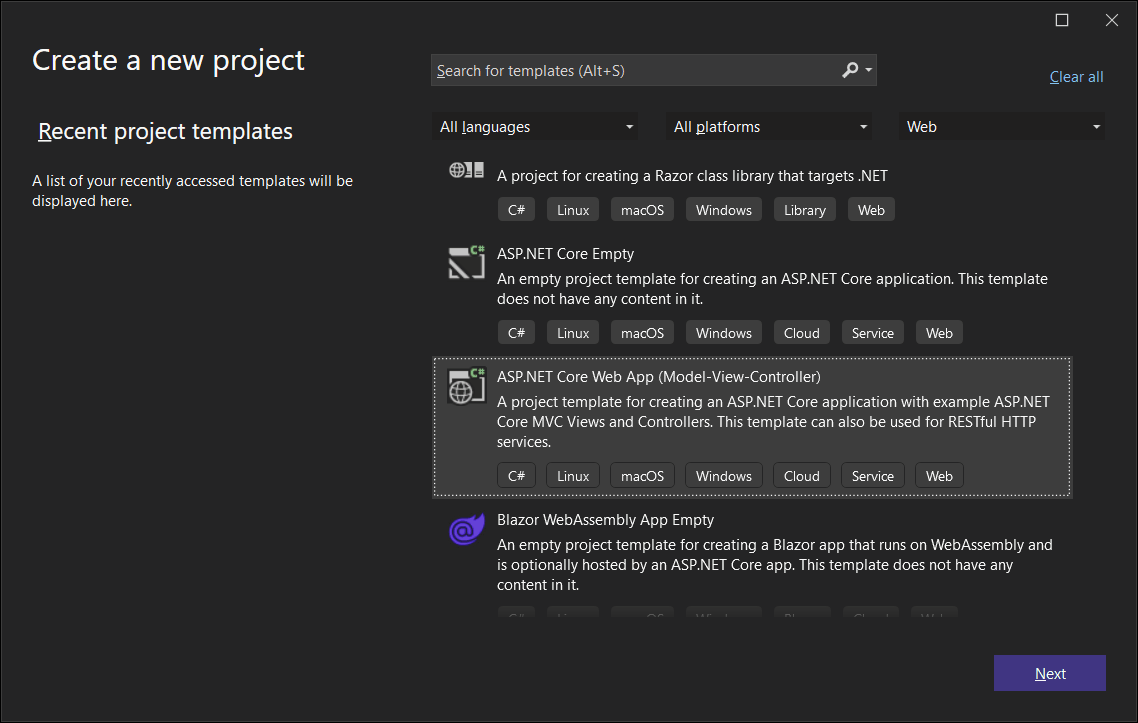
Start Visual Studio and select File > New > Project
-
Select the template named ASP.NET Core Web App (Model-View-Controller) and click Next
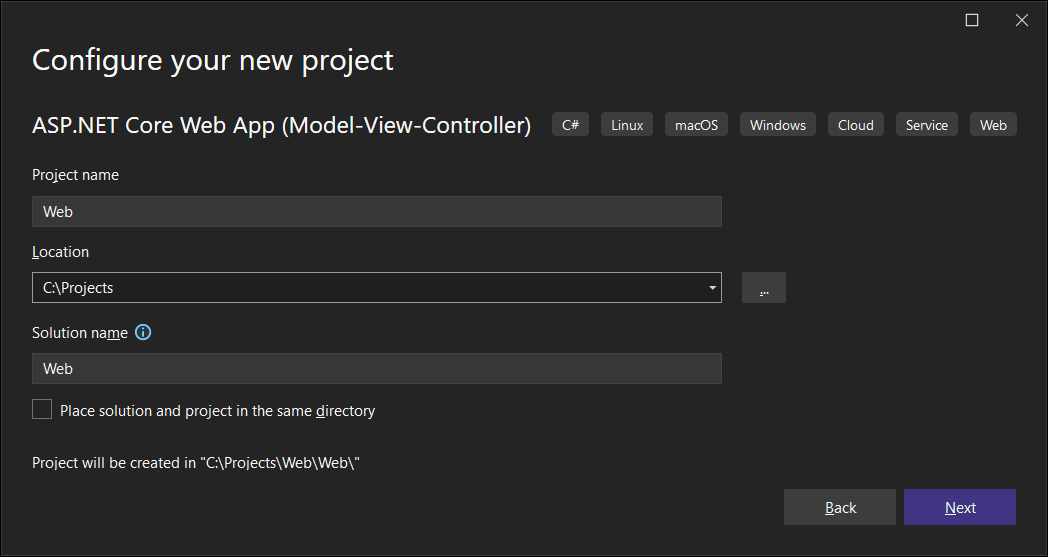
- Enter Web for the Project Name, choose a location to save the project, then click Next
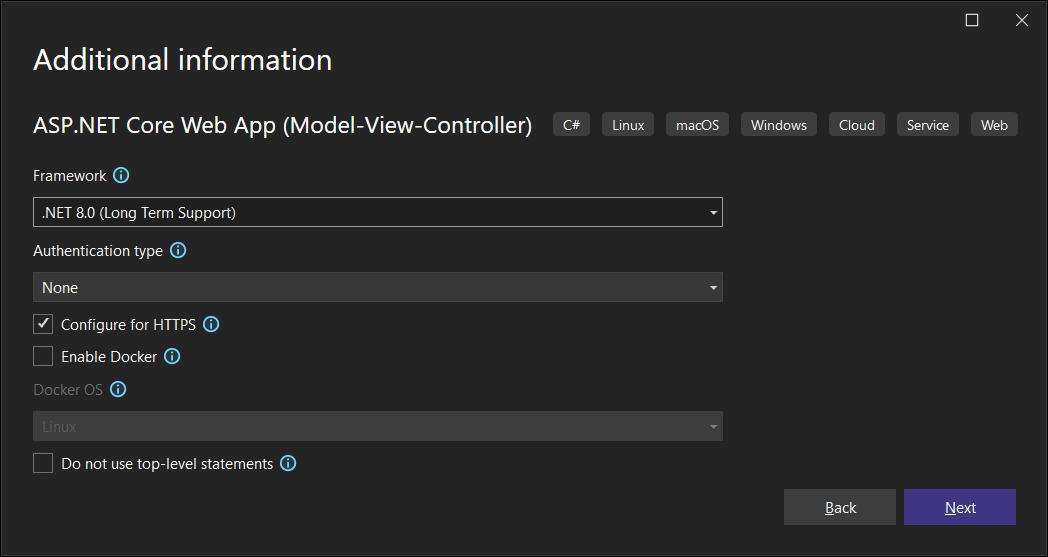
- For the Framework, select .NET 8.0 (Long Term Support), then click Create
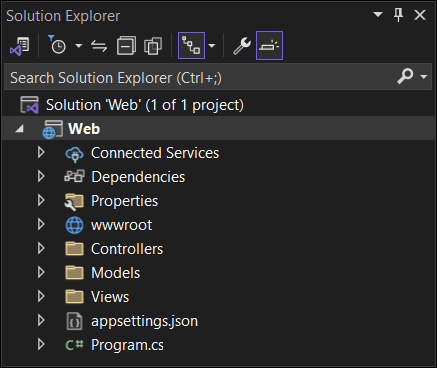
- The new project will be created, and you should see this folder structure in Visual Studio’s Solution Explorer:
Running the App
Now we’ve created a new project, let’s make sure it runs!
- Press CTRL+F5, or click the Start Without Debugging button:

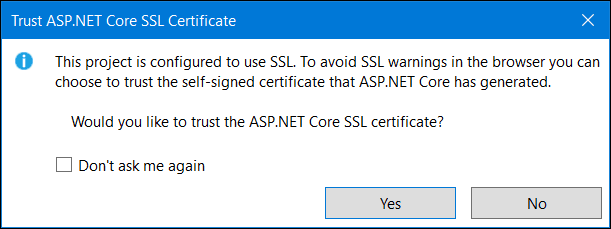
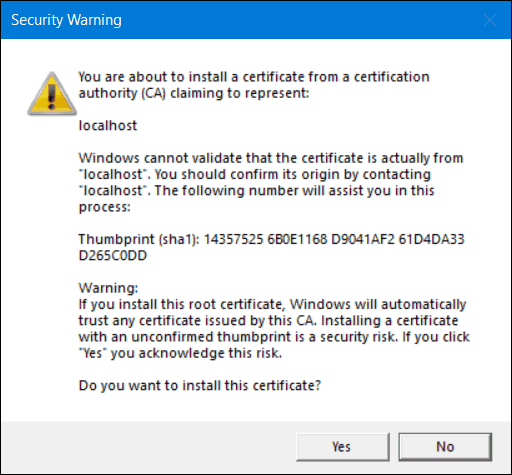
- The first time you run the project, you will be asked to install an SSL/TLS certificate - click Yes on both popups:
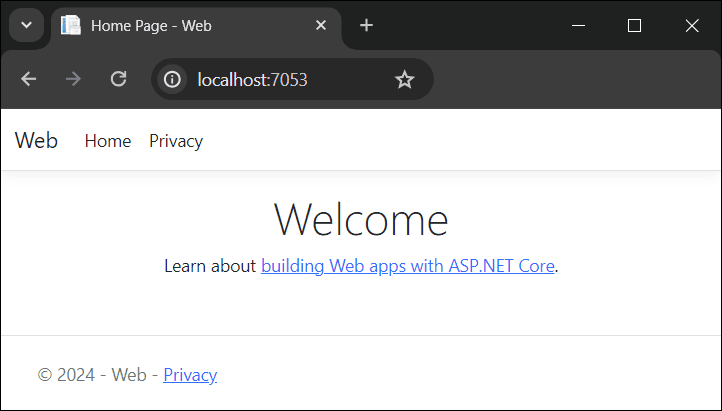
- Visual Studio will then run the app, opening it in the default browser:
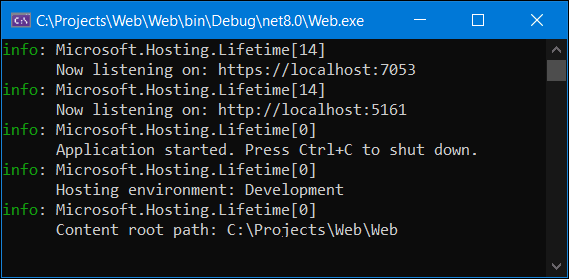
- While running your project, Visual Studio will open a terminal as well as the browser - this is for the default web server, Kestrel. If you press
CTRL-C, it will shut down the web server and stop running your project.
File Upload
To enable file uploads, we need to add:
- View models, to encapsulate information about uploaded files
- A view with a form that allows users to select and upload a file
- A view to show information about the uploaded file
- A controller, to show the views and handle the uploaded file
- We’ll also update the main layout view, just to add links to our new pages
Let’s get started!
- First, create file
Models/FileModels.cs, with content:
|
|
- Next, create a folder
Views/Upload, and inside a view fileViews/Upload/Index.cshtmlwith content:
|
|
Note the form’s encoding type (enctype) property is set to multipart/form-data - this is required for uploading files.
- Next, create view file
Views/Upload/Result.cshtmlwith content:
|
|
- Create a controller file
Controllers/UploadController.cswith content:
|
|
- Finally, update the content of
Views/Shared/_Layout.cshtmlto add links to our new pages:
|
|
It really is that simple!
Testing File Uploads
Now we’re ready to test file uploads! 🎉
-
Begin by running the project again, either by pressing CTRL+F5, or by click the Start Without Debugging button
-
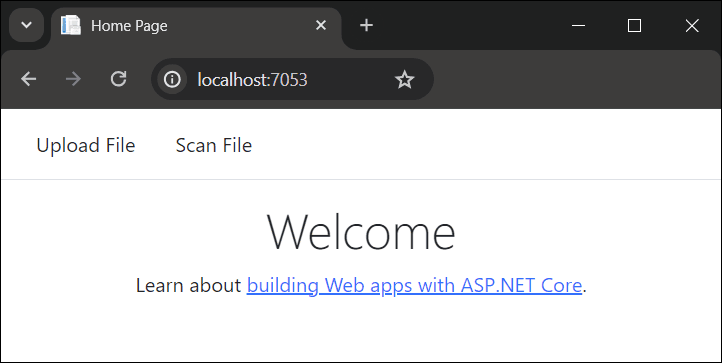
Your browser should open automatically, showing a page that looks like this:
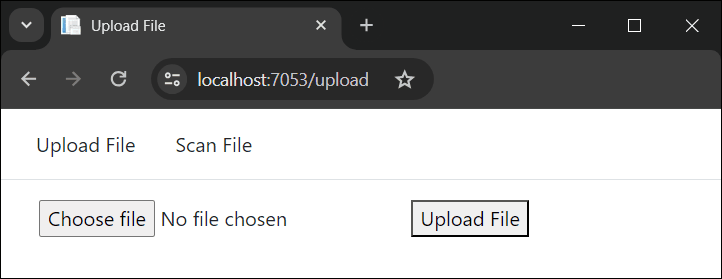
- Click the link Upload File, and you should see one of the new views we created:
-
Press Choose File to select a file to upload, then and press the Upload File button
-
If everything was set up correctly, you should see information about the file being shown in a web page:
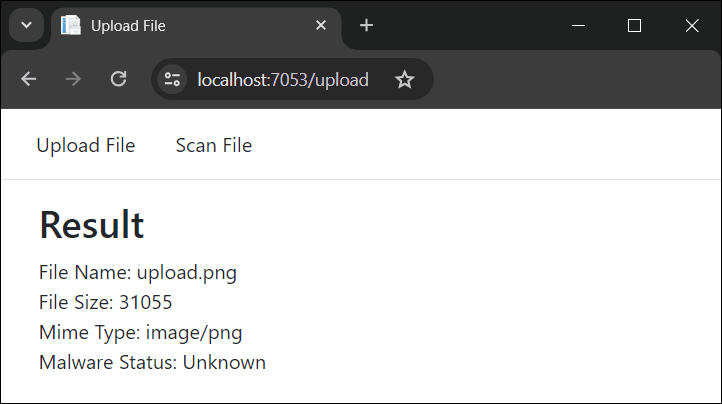
Note that the Malware Status is shown as Unknown - we’ll fix that in the next section.
Malware Scanning
Now we’re going to use Verisys Antivirus API to scan uploaded files for malware. Following a similar pattern as for the previous section, we need to add:
- Registration of an HTTP client with the Dependency Injection (DI) container
- A view with a form that allows users to select and upload a file for scanning
- A view to show the results of the malware scan
- A controller, to show the views and send the uploaded file to Verisys Antivirus API
Let’s get started!
- In file
Program.cs, replace linebuilder.Services.AddControllersWithViews();with:
|
|
X-API-Key in the above code will need to be replaced with a real API key to scan files for real. Don’t have an API key? Subscribe now!- Create a folder
Views/Scan, and inside a view fileViews/Scan/Index.cshtmlwith content:
|
|
- Next, create view file
Views/Scan/Result.cshtmlwith content:
|
|
- Finally, create a controller file
Controllers/ScanController.cswith content:
|
|
Testing Malware Scanning
Now we’re ready to test malware scanning! 🎉
-
Begin by running the project again, either by pressing CTRL+F5, or by click the Start Without Debugging button
-
Your browser should open automatically, showing a page that looks like this:
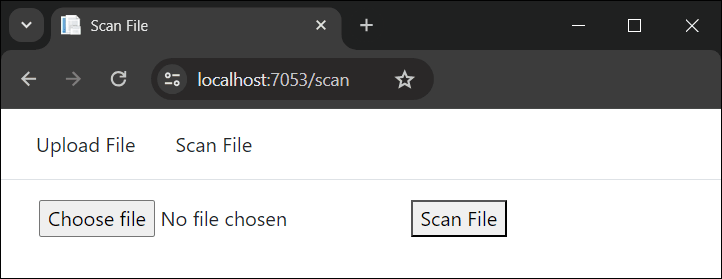
- Click the link Scan File, and you should see one of the new views we created:
-
Press Choose File to select a file to upload, then and press the Upload File button
-
If everything was set up correctly, you should see malware scan results from Verisys Antivirus API being shown in a web page:


