To follow this tutorial, you will need the following:
Overview
To allow files to be uploaded, you will:
- Create a web page with a form that allows the user to select a file to upload
- Create Express route handlers to work with uploaded files
Of course, you will also want to do something with each uploaded file! In this tutorial, we’re going to write JavaScript code to display some information about the file, and also to scan it for malware using Verisys Antivirus API.
Verisys Antivirus API is a language-agnostic REST API that allows you to easily add malware scanning to mobile apps, web apps and backend processing.
By scanning user-generated content and file uploads, Verisys Antivirus API can stop dangerous malware at the edge, before it reaches your servers, applications - or end users.
Project Scaffold/Setup
The first step is to create and initialize a new Express project.
-
Open a terminal or command prompt, navigate to the directory where you want to store the project, and run the following commands:
1
2
3
|
npx express-generator --view=pug myapp
cd myapp
npm install
|
-
The generated app should have the following directory structure:
 1
 2
 3
 4
 5
 6
 7
 8
 9
10
11
12
13
14
15
16
17
18
|
.
├── app.js
├── package.json
├── bin
│   └── www
├── package.json
├── public
│   ├── images
│   ├── javascripts
│   └── stylesheets
│       └── style.css
├── routes
│   ├── index.js
│   └── users.js
├── views
│   ├── error.pug
│   └── index.pug
│   └── layout.pug
|
-
Before we move on, make sure you can run the app and view it in a browser
1
|
DEBUG=myapp:* npm start
|
1
|
set DEBUG=myapp:* & npm start
|
1
|
$env:DEBUG='myapp:*'; npm start
|
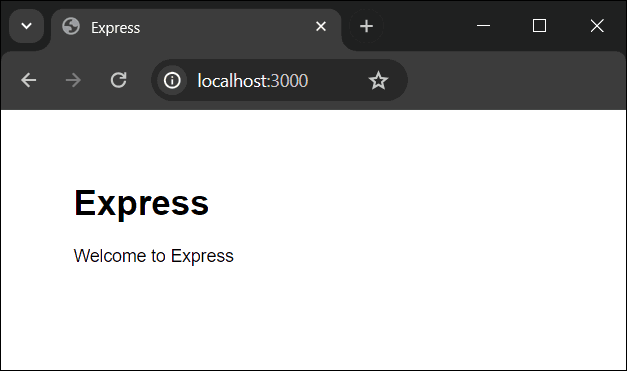
Then navigate to http://localhost:3000 in your browser to access the app - you should see a page that looks like this:
-
Go ahead and stop the server by hitting CTRL-C at the command prompt
-
Next, we’re going to add a few NPM packages:
-
We’ll add a package to deal with file uploads easier. There are several popular choices here, including Multer, Formidable and express-fileupload - they are all fairly similar, and for this tutorial, we’ll use express-fileupload
-
For this tutorial, we’re going to scan the file for malware using Verisys Antivirus API, and so we’ll add a package to make it easier to make external HTTP requests. Popular choices include Axios and node-fetch - for this article, we’ll use node-fetch
- We’ll also add the form-data package to allow working with multipart form data, which is used to perform file uploads
1
2
3
|
npm install express-fileupload
npm install node-fetch@^2.7.0
npm install form-data
|
Frontend
Before we write JavaScript code to handle the file upload, let’s create a simple web page that lets the end user select a file to upload.
- Update the content of
myapp/views/index.pug to contain the following:
 1
 2
 3
 4
 5
 6
 7
 8
 9
10
11
12
13
14
15
16
17
18
19
|
extends layout

block content

  h2 File Upload

  <form action="/upload" method="POST" enctype="multipart/form-data">
    <input type="file" name="file" required>
    <button type="submit">Upload File</button>
  </form>

  br

  h2 Malware Scan

  <form action="/scan" method="POST" enctype="multipart/form-data">
    <input type="file" name="file" required>
    <button type="submit">Scan File</button>
  </form>
|
We’ve added two forms to the page. When the File Upload form is submitted, the file will be sent to a route at /upload - the next step is to create the route and route handler. We’ll get back to the Malware Scan form later.
Backend - Simple File Upload
Now we’re going to add a route handler to process uploaded files, and then we’ll wire up the handler to the /upload route.
- Create file
myapp/routes/upload.js with the following content:
 1
 2
 3
 4
 5
 6
 7
 8
 9
10
11
12
13
14
15
16
17
18
19
20
21
22
23
24
25
26
27
28
29
30
31
32
33
34
35
|
const express = require('express');
const fileUpload = require('express-fileupload');
const router = express.Router();

router.use(fileUpload({
  // Configure file uploads with maximum file size 10MB
  limits: { fileSize: 10 * 1024 * 1024 },

  // Temporarily store uploaded files to disk, rather than buffering in memory
  useTempFiles : true,
  tempFileDir : '/tmp/'
}));

router.post('/', async function(req, res, next) {
  // Was a file submitted?
  if (!req.files || !req.files.file) {
    return res.status(422).send('No files were uploaded');
  }

  const uploadedFile = req.files.file;

  // Print information about the file to the console
  console.log(`File Name: ${uploadedFile.name}`);
  console.log(`File Size: ${uploadedFile.size}`);
  console.log(`File MD5 Hash: ${uploadedFile.md5}`);
  console.log(`File Mime Type: ${uploadedFile.mimetype}`);

  // Return a web page showing information about the file
  res.send(`File Name: ${uploadedFile.name}<br>
  File Size: ${uploadedFile.size}<br>
  File MD5 Hash: ${uploadedFile.md5}<br>
  File Mime Type: ${uploadedFile.mimetype}`);
});

module.exports = router;
|
This simple handler will both print information about the file to the console and return it in as a web page, so you can see what has been received by your router.
Next, we need to wire up this code to the /upload route.
- Update the content of
myapp/app.js to contain the following:
 1
 2
 3
 4
 5
 6
 7
 8
 9
10
11
12
13
14
15
16
17
18
19
20
21
22
23
24
25
26
27
28
29
30
31
32
33
34
35
36
37
38
39
40
41
42
43
|
var createError = require('http-errors');
var express = require('express');
var path = require('path');
var cookieParser = require('cookie-parser');
var logger = require('morgan');

var indexRouter = require('./routes/index');
var usersRouter = require('./routes/users');
var uploadRouter = require('./routes/upload');

var app = express();

// view engine setup
app.set('views', path.join(__dirname, 'views'));
app.set('view engine', 'pug');

app.use(logger('dev'));
app.use(express.json());
app.use(express.urlencoded({ extended: false }));
app.use(cookieParser());
app.use(express.static(path.join(__dirname, 'public')));

app.use('/', indexRouter);
app.use('/users', usersRouter);
app.use('/upload', uploadRouter);

// catch 404 and forward to error handler
app.use(function(req, res, next) {
  next(createError(404));
});

// error handler
app.use(function(err, req, res, next) {
  // set locals, only providing error in development
  res.locals.message = err.message;
  res.locals.error = req.app.get('env') === 'development' ? err : {};

  // render the error page
  res.status(err.status || 500);
  res.render('error');
});

module.exports = app;
|
We’ve only added two lines to the default code provided by the Express generator (lines #9 and #25 above), telling Express to use our upload.js router for the /upload route.
Testing File Uploads
Now we’re ready to test it! 🎉
-
Begin by starting your Node.js server using the same command as before
-
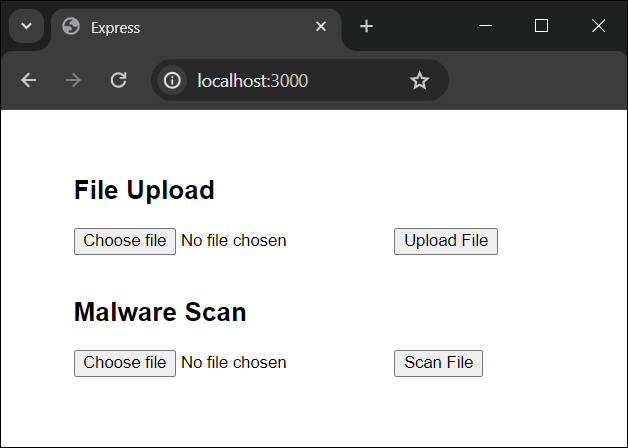
Open your browser and navigate to http://localhost:3000 - you should see a page that looks like this:
- Use the File Upload form, Browse to select a file and press the Upload File button
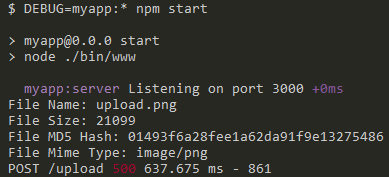
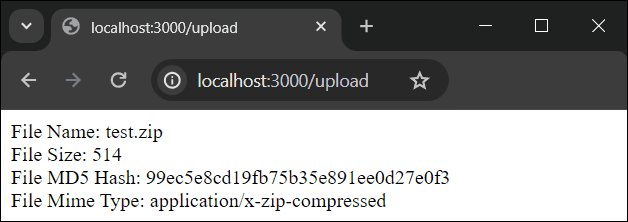
If everything was set up correctly, you should see information about the file being printed to the console, and also shown in a web page.
Backend - Malware Scanning
Now we’re going to add a route handler to perform a virus scan on uploaded files, and then we’ll wire up the handler to the /scan route.
- Create file
myapp/routes/scan.js with the following content:
 1
 2
 3
 4
 5
 6
 7
 8
 9
10
11
12
13
14
15
16
17
18
19
20
21
22
23
24
25
26
27
28
29
30
31
32
33
34
35
36
37
38
39
40
41
42
43
44
45
46
47
48
49
50
51
52
53
54
55
56
57
58
59
60
61
62
63
64
65
66
67
68
69
70
71
72
|
const express = require('express');
const fetch = require('node-fetch');
const fileUpload = require('express-fileupload');
const FormData = require('form-data');
const fs = require('fs');
const router = express.Router();
router.use(fileUpload({
// Configure file uploads with maximum file size 10MB
limits: { fileSize: 10 * 1024 * 1024 },
// Temporarily store uploaded files to disk, rather than buffering in memory
useTempFiles : true,
tempFileDir : '/tmp/'
}));
router.post('/', async function(req, res, next) {
// Was a file submitted?
if (!req.files || !req.files.file) {
return res.status(422).send('No files were uploaded');
}
const uploadedFile = req.files.file;
// Print information about the file to the console
console.log(`File Name: ${uploadedFile.name}`);
console.log(`File Size: ${uploadedFile.size}`);
console.log(`File MD5 Hash: ${uploadedFile.md5}`);
console.log(`File Mime Type: ${uploadedFile.mimetype}`);
// Scan the file for malware using the Verisys Antivirus API - the same concepts can be
// used to work with the uploaded file in different ways
try {
// Attach the uploaded file to a FormData instance
var form = new FormData();
form.append('file', fs.createReadStream(uploadedFile.tempFilePath), uploadedFile.name);
const headers = {
'X-API-Key': '<YOUR API KEY HERE>',
'Accept': '*/*'
};
// Send the file to the Verisys Antivirus API
const response = await fetch('https://eu1.api.av.ionxsolutions.com/v1/malware/scan/file', {
method: "POST",
body: form,
headers: headers
});
// Did we get a response from the API?
if (response.ok) {
const result = await response.json();
// Did the file contain a virus/malware?
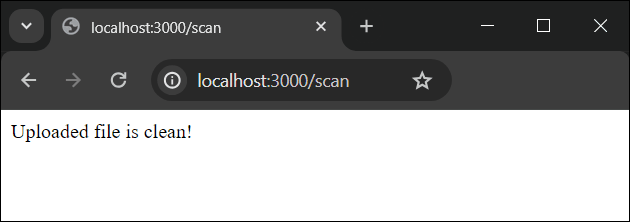
if (result.status === 'clean') {
return res.send('Uploaded file is clean!');
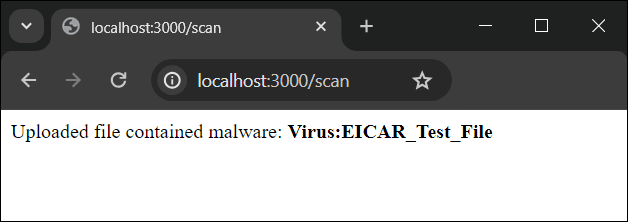
} else {
return res.status(500).send(`Uploaded file contained malware: <b>${result.signals[0]}</b>`);
}
} else {
throw new Error('Unable to scan file: ' + response.statusText);
}
} catch (error) {
// Forward the error to the Express error handler
return next(error);
} finally {
// Remove the uploaded temp file
fs.rm(uploadedFile.tempFilePath, () => {});
}
});
module.exports = router;
|
As with the /upload handler, this new /scan handler will print information about the file to the console, so you can see what has been received by your route handler. It then uploads the file to Verisys Antivirus API to scan it for malware.
The
X-API-Key in the above code will need to be replaced with a real API key to scan files for real. Don’t have an API key?
Subscribe now!
Next, we need to wire up this code to the /scan route.
- Update the content of
myapp/app.js to contain the following:
 1
 2
 3
 4
 5
 6
 7
 8
 9
10
11
12
13
14
15
16
17
18
19
20
21
22
23
24
25
26
27
28
29
30
31
32
33
34
35
36
37
38
39
40
41
42
43
44
45
|
var createError = require('http-errors');
var express = require('express');
var path = require('path');
var cookieParser = require('cookie-parser');
var logger = require('morgan');

var indexRouter = require('./routes/index');
var usersRouter = require('./routes/users');
var uploadRouter = require('./routes/upload');
var scanRouter = require('./routes/scan');

var app = express();

// view engine setup
app.set('views', path.join(__dirname, 'views'));
app.set('view engine', 'pug');

app.use(logger('dev'));
app.use(express.json());
app.use(express.urlencoded({ extended: false }));
app.use(cookieParser());
app.use(express.static(path.join(__dirname, 'public')));

app.use('/', indexRouter);
app.use('/users', usersRouter);
app.use('/upload', uploadRouter);
app.use('/scan', scanRouter);

// catch 404 and forward to error handler
app.use(function(req, res, next) {
  next(createError(404));
});

// error handler
app.use(function(err, req, res, next) {
  // set locals, only providing error in development
  res.locals.message = err.message;
  res.locals.error = req.app.get('env') === 'development' ? err : {};

  // render the error page
  res.status(err.status || 500);
  res.render('error');
});

module.exports = app;
|
We’ve only added two lines to the previous code (lines #10 and #27 above), telling Express to use our scan.js router for the /scan route.
Testing Malware Scanning
Now we’re ready to test malware scanning! 🎉
-
Begin by starting your Node.js server using the same command as before
-
Open your browser and navigate to http://localhost:3000 - you should see a page that looks like this:
- Use the Malware Scan form, Browse to select a file and press the Scan File button
If everything was set up correctly, as before you should see information about the file being printed to the console, but you should also see a response from Verisys Antivirus API: